Template Settings
Select layout and design styles.
Overview & Core Benefits
Choose fonts, margins, and layout templates for your generated documents.
Why This Matters
Summary Flow
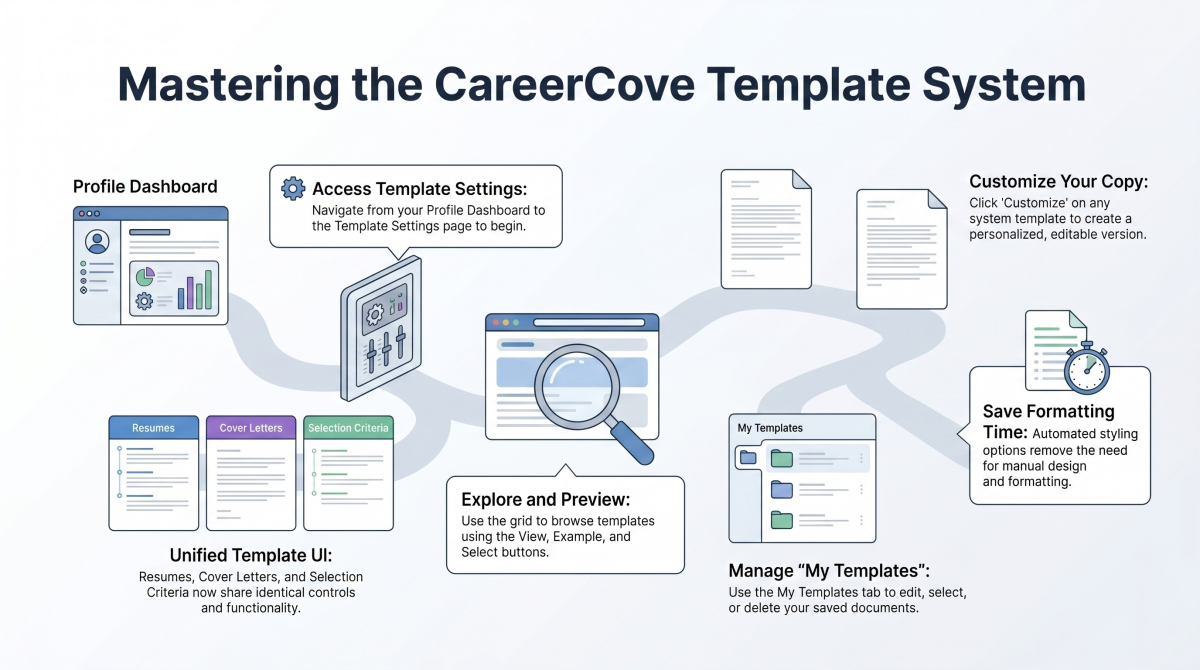
Step-by-Step Walkthrough Guide
Follow these step-by-step instructions to master the Template Settings workflow on the CareerCove platform.
Step 1: Accessing Template Categories
Hover over the template category selector dashboard to pick which system documents you want to customize. Choose Resume Templates, Cover Letter Templates, or Selection Criteria Templates depending on the application document you are preparing.
Purpose: To navigate to design settings for specific document types.
Benefit: Separating document settings by category lets you customize styling rules cleanly.
Outcome: Clicking the card redirects you to the specific document template settings page.
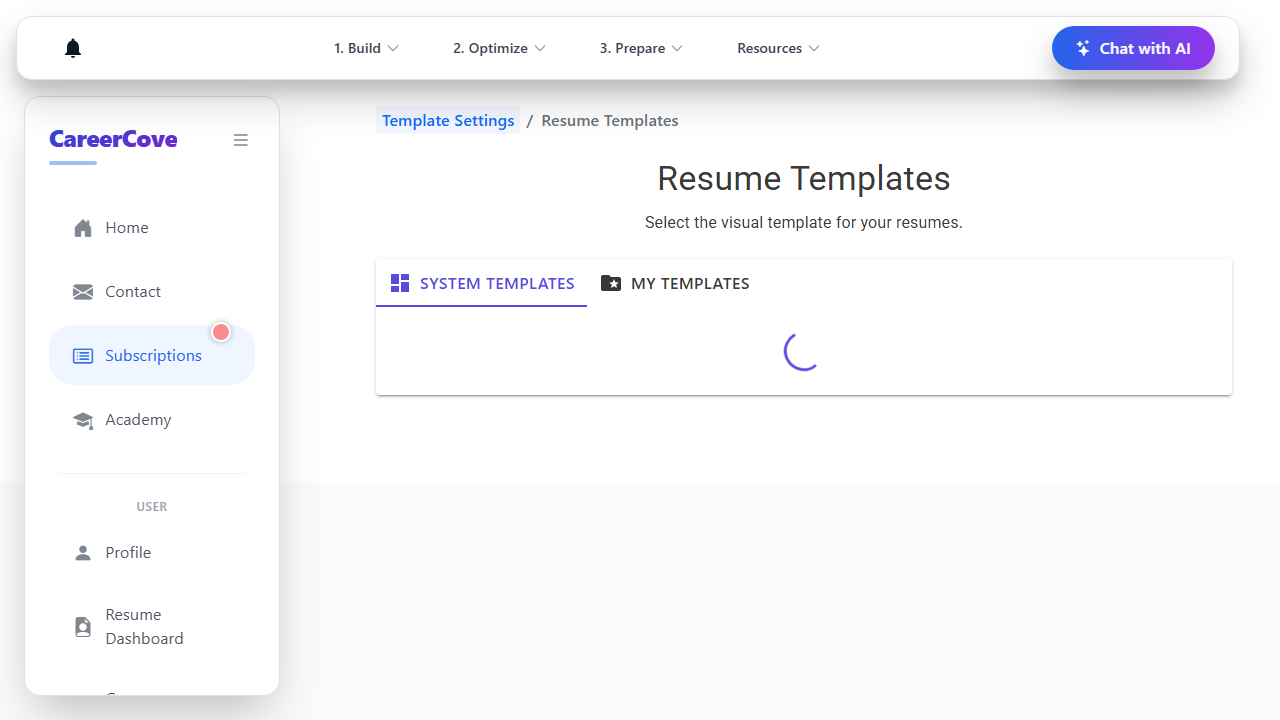
Step 2: Previewing and Selecting Layouts
Review the library of system-wide document templates, clicking 'Select' on a design layout like Modern, Clean, or Corporate to make it your default generation style. Each template is optimized for readability, visual spacing, and ATS parsing algorithms.
Purpose: To set the default visual template format for future resume exports.
Benefit: Quick design selection lets you pivot styling instantly depending on the industry target.
Outcome: The template selection updates, displaying a successful saving state and applying this layout style.
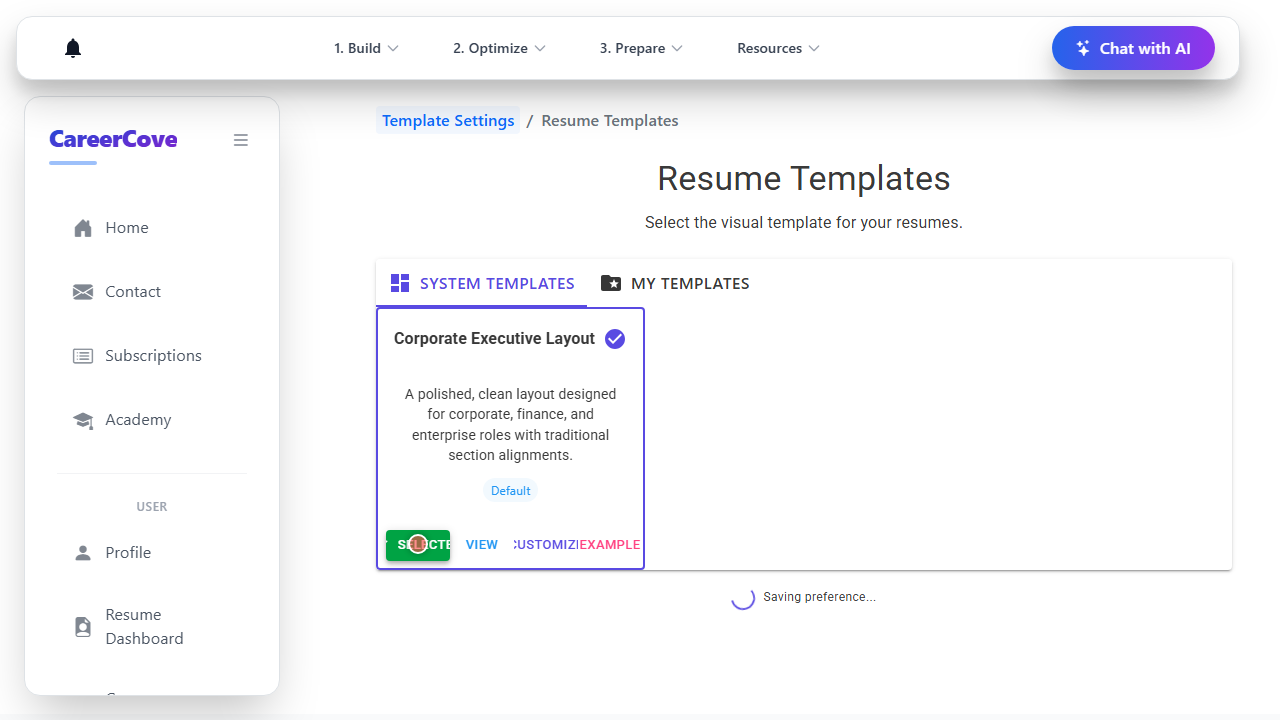
Step 3: Creating a Custom User Template
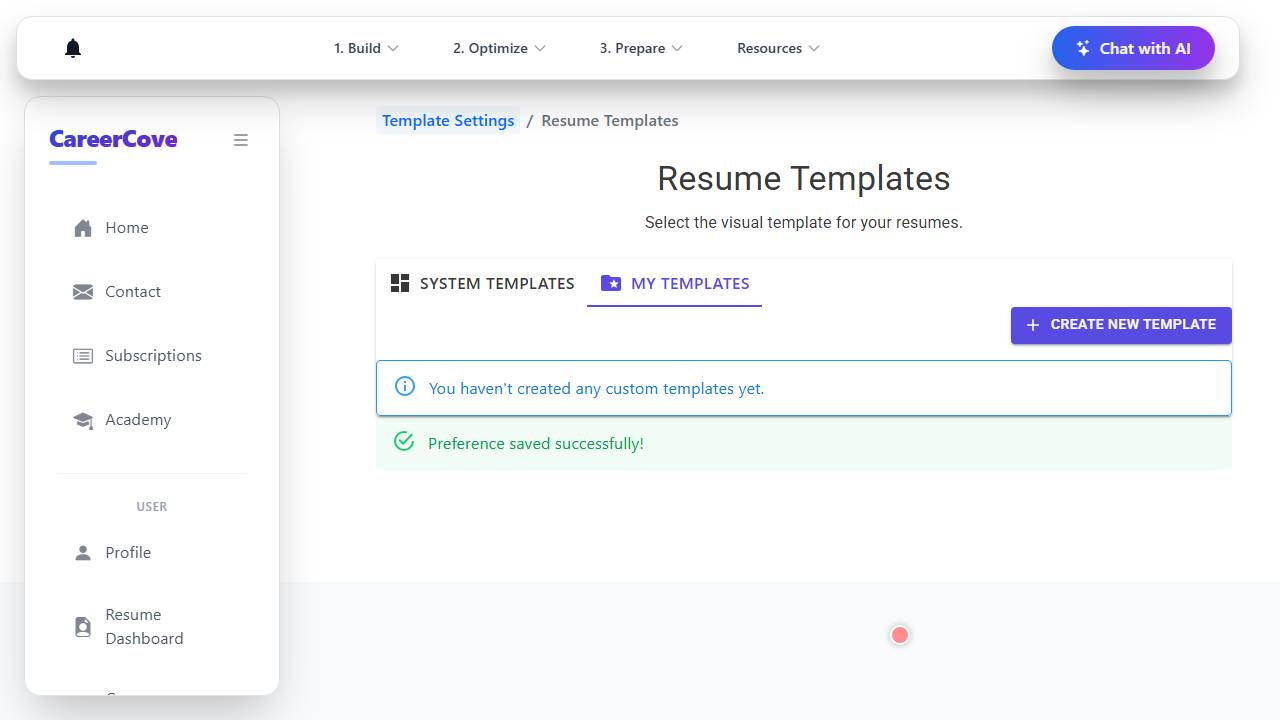
Switch to the 'My Templates' tab and click 'Create New Template' to design a bespoke style from scratch using custom layouts. You can enter a descriptive title, paste your custom styling markdown, and utilize dynamic placeholders to tailor documents for specific target roles.
Purpose: To build highly customized, private templates tailored to your unique branding.
Benefit: Custom templates let you save specific text blocks and structures that fit your target jobs.
Outcome: Clicking the button launches a dialog where you can configure the title, placeholders, and content body.
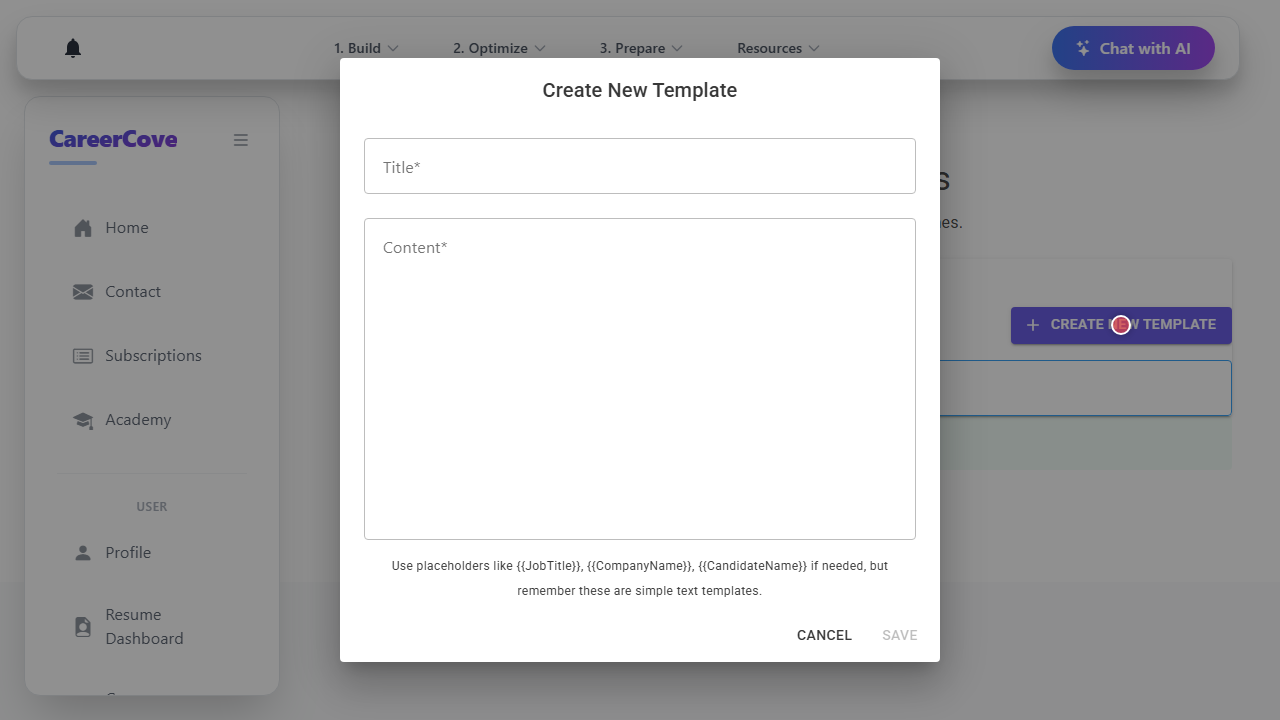
Step 4: Customization Settings Dialog
Inside the template creation dialog, enter the custom text blocks and specify structural formatting options before saving. Custom user-defined templates can be edited, deleted, or selected as the primary output structure at any time.
Purpose: To validate your inputs and commit your custom template changes to the system.
Benefit: Form validation ensures your custom templates are properly titled and structured before saving.
Outcome: Saving the dialog creates the template, placing it in your personal list.
See It In Action
Maximising Your Journey
Selecting the right layout design ensures your resume is structured for maximum visual impact and matches the design standards expected in your target industry.
Ready to apply this guide to your own career?
Register an account or sign in to save your progress, build and optimize your resume, and access advanced AI career tools.
Recommended Pathway Steps